
Last Updated: November 4, 2026
Quick Summary
You can take good real estate photos with a smartphone by declutter and clean the room first, turning on HDR and grid lines, shooting in landscape with the flash off, and opening every curtain for natural daylight. Shoot diagonally from a corner at about waist height to show the most space.
- Clean mirrors, glass, counters and sinks, and remove personal items before the shoot.
- Turn on HDR, grid lines and the highest resolution, and turn the flash off.
- Shoot in landscape orientation to show more of the room.
- Open all curtains and blinds, and turn on interior lights even during the day.
- Stand in a corner and shoot diagonally, keeping vertical lines straight.
Table of Contents
- Why Phone Photos Can Work for Listings
- Real Estate Photo Checklist for Sellers Before the Shoot
- How to Stage a Home for Real Estate Photos
- Best Phone Camera Settings for Real Estate Photos
- Real Estate Photography Lighting Tips for Bright, Even Rooms
- Shooting Angles, Lines and Room Size
- Booking Your Listing Photos and Next Steps
- Frequently Asked Questions
Why Phone Photos Can Work for Listings
Phone photos can work for real estate listings when the basics are right. A buyer scrolling on a phone sees your photos before anything else, so the quality of those first images matters a lot. According to the National Association of Realtors (2026), 81% of online homebuyers rate professional-quality photos as very useful when evaluating a listing. National Association of Realtors research on online homebuyers
The good news is that modern phones are capable. Many current flagship models have high-resolution sensors and wide-angle lenses that handle most standard rooms well. Some industry sources note that roughly 11% of listing photos on major portals are now taken with smartphones. Roomagen real estate photo statistics for 2026
Phones still have limits. They struggle more than dedicated cameras with bright windows next to dark rooms. Your job is to work around that limit with good light, steady framing and the right settings.
Real Estate Photo Checklist for Sellers Before the Shoot
Clean, decluttered rooms photograph far better than anything you can fix in editing. Our pre-listing home inspection repairs checklist shows which repairs to handle before the shoot. Start with the work that makes the biggest visual difference.
- Clean mirrors and glass doors so they look clear
- Wipe down counters, appliances and sinks so nothing looks dusty
- Remove personal items, family photos and trash bins from view
- Turn off ceiling fans and close toilet lids
- Make beds and fold throw blankets neatly
- Hide cords, chargers and pet bowls
- Check that all light bulbs work and match in color
Exterior photos need the same care. Sweep the entry, move cars and trash cans out of frame, and make sure the lawn and walkways look tidy. Water stains on glass can show up clearly in photos, so handle them before the shoot. For help with that, see our guide to does professional window cleaning remove hard water stains.
How to Stage a Home for Real Estate Photos
Staging makes rooms feel open and inviting. You do not need a full staging company to get good results. Focus on the rooms buyers look at longest: the living room, kitchen, primary bedroom and bathrooms.
Remove about half of the furniture in crowded rooms. Keep pieces that match the room’s size. Add a few simple touches like fresh flowers, a folded throw or a bowl of fruit on the kitchen island.
For the outside of the home, curb appeal matters just as much. Simple updates like fresh mulch, trimmed hedges and a clean front door make a strong first impression. Our list of DIY curb appeal projects on a budget that actually work covers low-cost ideas you can finish in a weekend.
Best Phone Camera Settings for Real Estate Photos
Good settings come before good angles. Set your phone up once and check it before every room.
- Resolution: Shoot at the highest setting your phone allows
- HDR mode: Keep it on to balance bright windows and dark corners
- Grid lines: Turn them on to keep walls straight
- Exposure: Tap the screen and slide the sun icon to brighten or darken the shot
- Orientation: Shoot in landscape, not portrait, so the photo shows more of the room
- Flash: Turn it off, since flash makes rooms look flat and harsh
A wide lens helps you capture the full room without standing too far back. Watch out: wide lenses can bend straight lines near the edges, so keep the camera level and avoid tilting it up or down.
The core camera settings are summarised below so you can set your phone up once before shooting each room.
| Setting | What to do | Why it helps |
|---|---|---|
| Resolution | Shoot at the highest setting | Sharper listing photos |
| HDR mode | Keep it on | Balances bright windows and dark corners |
| Grid lines | Turn them on | Keeps walls straight |
| Exposure | Tap and slide the sun icon | Brightens or darkens the shot |
| Orientation | Shoot in landscape | Shows more of the room |
| Flash | Turn it off | Avoids flat, harsh light |
Real Estate Photography Lighting Tips for Bright, Even Rooms
Lighting makes or breaks a listing photo. Open every curtain and blind before you start. Natural daylight gives rooms a warm, inviting look that flash cannot match.
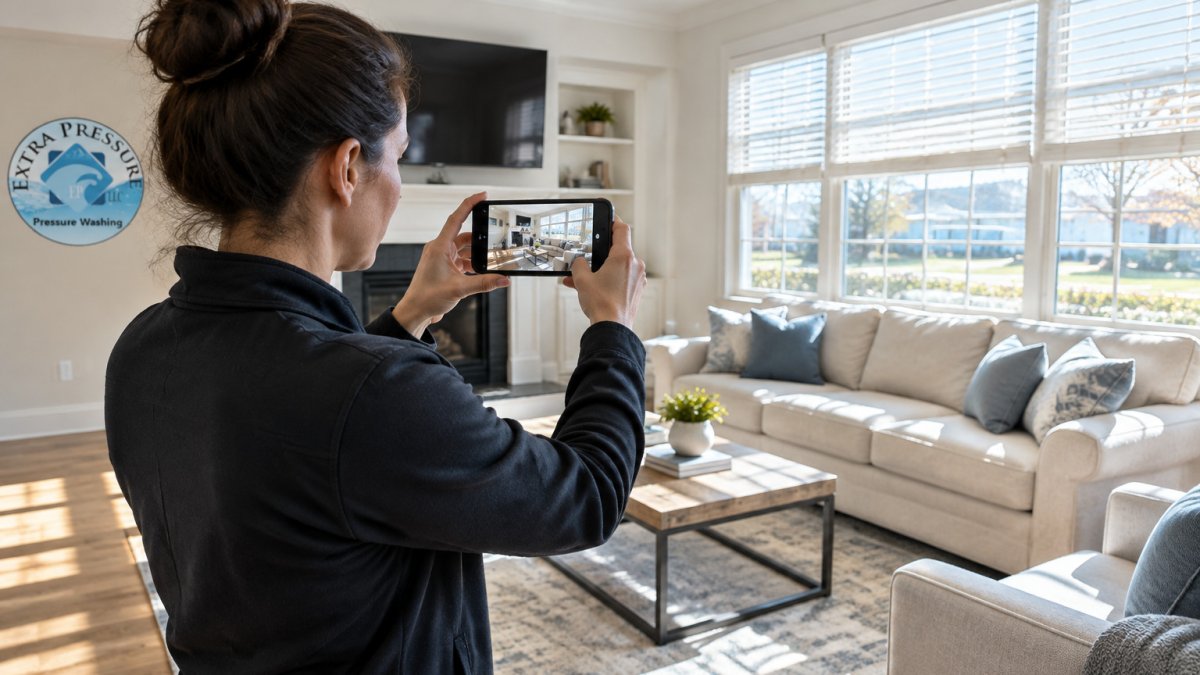
Shoot on a bright, overcast day when possible, since clouds soften the light and reduce harsh shadows. Avoid shooting at midday, when the sun creates strong glare and hard contrast.
Turn on all interior lights, including lamps and under-cabinet lights, even during the day. This fills in shadows and makes the room feel warm. Make sure the bulbs match in color so the photos look consistent.
Watch out for reflections in mirrors and glass. Stand to the side of the mirror, not in front of it, so your phone does not appear in the shot.
Shooting Angles, Lines and Room Size
Stand in a corner of the room and shoot diagonally toward the opposite corner. This angle shows the most floor and wall space and makes rooms look bigger. Keep your phone at about waist height for a natural, balanced view.
Keep vertical lines straight. Tilted walls and doorframes make a photo look sloppy. Use the grid lines on your screen to check your alignment before you press the shutter.
Take several shots of each room from different spots. Then pick the photo that shows the room most clearly and with the best light. Small rooms may look better with a straight-on shot, while larger rooms usually benefit from a diagonal angle.
Booking Your Listing Photos and Next Steps
If you want photos that match the quality buyers expect, consider a professional shoot before you list. A professional photographer brings specialized gear and experience with difficult lighting. Many sellers choose a mix: professional photos for the main listing and phone shots for quick social media updates.
When you are ready to choose who will list your home, read our guide on how to choose a real estate listing agent. A good agent can tell you what photos the local market expects and how to present your home.
Extra Pressure LLC. offers same-day estimates for exterior cleaning, including window washing and soft washing, to help your home look its best for listing photos. Contact us to schedule an appointment and get your exterior ready for the camera.
Frequently Asked Questions
How do you take professional real estate photos with a smartphone?
Start by cleaning and decluttering each room, then shoot in landscape orientation from a corner of the room at about chest height. Turn on HDR, use the wide-angle lens on a recent flagship phone, and shoot during the brightest part of the day with lights on and blinds open. Keep the camera level so vertical lines stay straight. Shoot several frames per room so you can pick the sharpest, most evenly lit one. Edit lightly to correct exposure and straighten lines without overdoing color. A consistent routine across every room helps the listing look cohesive online.
What settings should I use for real estate photos on my phone?
Use the main or wide-angle lens rather than digital zoom, and keep HDR turned on to balance bright windows against darker interiors. Set the exposure slightly lower if windows look blown out, and lock focus and exposure on a midpoint in the room before shooting. Choose the highest resolution the camera offers and shoot in landscape. Avoid night mode and heavy filters, which can add noise or unnatural color. Turn off the flash for interiors, since it creates harsh shadows and hot spots on walls.
How should I prepare a house for real estate photos?
Remove personal items, clutter, and loose cords, and make beds and surfaces tidy. Open curtains and blinds, turn on every light, and make sure bulbs match in color temperature. Wipe down mirrors, glass, and kitchen counters, and mow the lawn or tidy the entryway before the exterior shots. Many sellers find that a pressure-washed driveway, walkway, and siding make the exterior photos stand out, and a clean set of windows helps daylight look bright and clear.
Is a smartphone good enough for real estate listing photos?
For many listings, yes. Recent flagship phones with high-resolution sensors and wide-angle lenses can produce images that work well online, especially when you use HDR, shoot in landscape, and keep the camera level. Phones still struggle more than dedicated cameras with very high-contrast scenes, such as bright windows against dark interiors. In those cases, bracketing exposures or adjusting the room lighting can help. If the property is high-end or the photos are the main selling point, a professional photographer may still be worth considering.
